 Alright, so wasp nests are one of the most intimidating types of pest removal to take on, but if you’re considering doing it yourself, here are the 5 steps to successfully removing a wasp nest.
1. Find the Wasp Nest
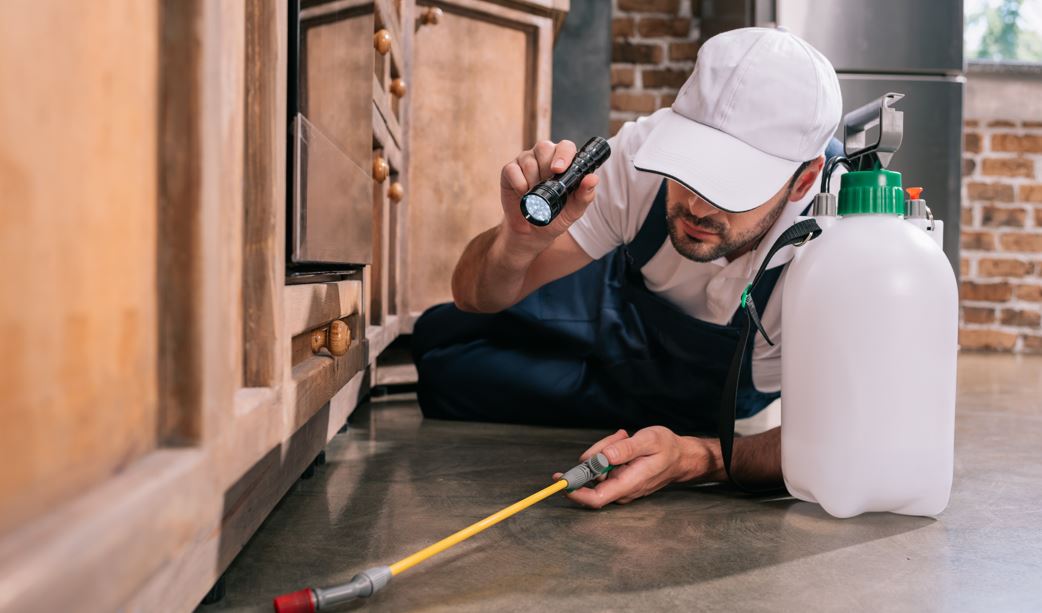
Let’s start with the obvious, shall we? The trouble is, sometimes you know you have a wasp problem, but you don’t know exactly where the nest is. To find it, it helps to know your enemy. First, you might notice wasps coming and going from a specific location on your property. Get your super-spy gear on and watch them from a safe distance – this may be all you need to find exactly where they’ve set up a nest. If that fails, then look in common wasp hiding spots: under eaves, wall cavities, under railings – pretty much anywhere that is out of the way and sheltered.
2. Wear Appropriate Pest Removal Gear
The biggest risk to you when you attempt to remove a wasp nest is getting stung. So make it difficult for the little pests to do so. Wear several layers of loose clothing to lesson the odds of a sting reaching your skin. Wear long sleeves and pants, socks, a hat, and even a bandana to cover your face! And tuck your pant legs into your socks while you’re at it – the last thing you need is an angry wasp buzzing its way up your pants!
3. Choose Your Timing Wisely
Wasps tend to rest at night, so that’s the best time to demolish the nest. It’s much harder to get near a wasp nest in the daytime when wasps are constantly flying in and out of it.
4. Destroying the Wasp Nest
There is more than one way to go about this. The simplest, and most economical, is to boil the suckers. All you have to do is dump buckets of boiling water over the nest until it’s destroyed. These boiling water treatments may have to be spaced out several hours or days apart, to allow any riled up wasps to calm down enough for you to safely approach the nest again. A variation of this method is to use boiling soapy water – the soap can make it harder for the peeved off wasps to counterattack.
Another approach is to use commercial wasp nest removal sprays. These are typically applied into the entrance of the wasp nest. As little as one treatment may be enough, and you won’t have to worry about burning yourself with boiling water.
Whatever method you choose, make sure you have an escape route planned, in case you find yourself being attacked by hoards of angry wasps. Tell others around you to stay far back.
Caution: If a nest is located in a location high enough to require a ladder, seriously consider hiring a professional. The last thing you need is to find yourself being attacked by angry wasps, followed by falling down and getting seriously injured.
5. Monitor the Results
If, after a few days, you no longer notice wasps flying in and out of the nest, it is probably safe to remove the nest. Just in case you’re mistaken about the wasps having vacated, wear your pest removal gear from step 2. Use a shovel or other tool to knock the nest down and transfer it into a garbage bag. Seal it up, and toss it in the trash.
Better Wasp Nest Removal Options
Doing it yourself can be dangerous, not to mention highly stressful. You can avoid all of this by contacting a local wildlife or pest removal company to do it for you. It’s safe, effective, and 100% stress free.
If you live in Burlington, Oakville, Milton, Waterdown or surrounding area, get a professional wasp removal quote from your local pest experts at Halton Wildlife today!